

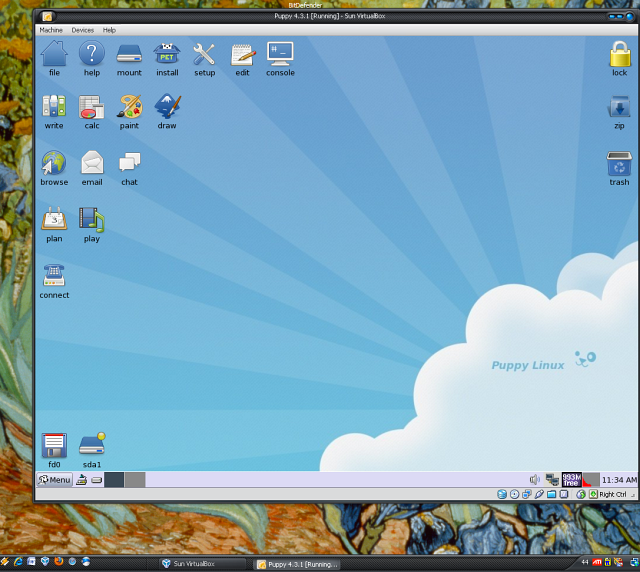
This is Puppy 4.3.1 running in a virtual machine for the program Sun xVM VirtualBox. I find this the easiest and most reliable way to run Puppy when I have to be working in Windows. This is a full implementation and it enables sharing files between Puppy and Windows as well as copying and pasting text between Puppy and Windows. It runs in a window on the Windows desktop or it can run full-screen. VirtualBox was originally based on Qemu, as I understand it, and now has an Open Source Edition as well as a proprietary edition. Both editions are free of charge; I use the proprietary edition which has USB and SATA support. VirtualBox runs for me when Qemu and the qemu-based puplets won't, and I believe it also offers more features than the qemu-based puplets.
It is mainly useful for those running Windows, so they might have a Puppy on their desktop, but it should also run in the Linux version of VirtualBox (though I have not tested that). Puppy 4.3.1 has 512MB ram (adjustable) and needs a physical machine with 1GB ram for VirtualBox and Puppy to run in Windows safely (or at least 768MB, I would say). Performance is extremely good IMO; my tests show 80% of running natively on the same processor. The Puppy in the box can add pets and other programs just as it is designed to do. It can also be used as a "browser appliance," to surf safely in Linux even while running Windows. Another fun thing to do is to get Windows & XP Virtual Desktops and use that to copy the Linux feature of multiple desktops--you can put Windows on one and Puppy on another http://vdm.codeplex.com/Release/Project ... seId=15275
Easy Install:
1) download and install VirtualBox;
2) download and unpack this zip archive of Puppy431rc2.zip; the archive is 254MB and the unzipped folder is 274MB (the increase over Puppy 4.3.1 is to install the VirtualBox services in order that all features will work).
3) open VirtualBox and "File -> Import Appliance" and select the ovf file inside the folder Puppy431rc2. When it has been imported, select that virtual machine in VirtualBox and click Start. (Testing in XP, I had to manually enable some of the options such as USB and Network--just look at the list of options when you select Puppy 4.3.1 and click each option and then click the Enable box.)
Download VirtualBox -->http://www.virtualbox.org/wiki/Downloads
Download Puppy431rc2 zip archive --> http://www.diddywahdiddy.net/Puppy400/Puppy431rc2.zip
md5sum = ee06f7ac6959b31e012aa8b352e9b849
To Copy & Paste text between host and guest:
Just copy & paste!
To share files between host and guest:
1. You can either create a new folder on the host to share or you can use an existing folder.
2. Right-Click the folder icon in the tray at the bottom right corner of VirtualBox, Click the Add New Shared Folder icon and navigate to a folder to share on the host machine; VirtualBox will provide a "sharename" to refer to that folder (or you can make your own sharename, for instance, Puppy).
2. Then create a folder in puppy (for instance, /mnt/Puppy) to mount the host file on.
3. Use this command in a terminal to mount the host folder in Puppy: "mount -t vboxsf sharename mountingpoint" (for instance, mount -t vboxsf Puppy /mnt/Puppy)
Refer to Sharing Folders in Help if problem
Adjust Video Memory: The process of cloning somehow changes the video memory to 4MB; that works but I adjust it to 8MB by clicking Display.
Autoresize desktop. What works is this: 1) drag the corner of the window to whatever size you want; 2) Right-Click on the Puppy desktop and choose Menu -> Shut down -> Restart X server. By using this kludge one can use the Autoresize feature.
The small print. For anyone who is interested, here's what I did
1. Install Puppy in VirtualBox
2. Download and install kernel sources sfs and devx sfs in order to run the "Guest Additions" install program to compile and install the VirtualBox Guest Additions. The Guest Additions are the modules and processes that enable the feature set.
3. Mount the Guest Additions program by Machine -> Install Guest Additions, and then click the CD icon to open Guest Additions (which are mounted on the CD). Then Right-Click in the white space of the CD window and choose Window -> Terminal Here--you can enter ls in the terminal to make sure you are in the proper directory. In the terminal enter "./VBoxAdditionsLinux-x86.run." (Don't forget the begin the command with "./" period forward-slash) to indicate that the file is in the current directory. It will end by telling you that the X Windows services were not installed.
4. Add user vboxadd to Puppy
5. Add these three lines to .xinitrc to start the start the X window services.
VBoxClient --clipboard
VBoxClient --seamless
VBoxClient --autoresize
6. The hardware probe for xorgwizard was not working right with VirtualBox and the screen went black (and that was before I did anything); this made it difficult to get any X-server running. This process seems to work reliably: 1) choose Xorg in xorgwizard; 2) when the screen goes blank, hit the down arrow 15 times, press Enter, hit the down-arrow twice, press Enter twice. This gives a 1024x768 desktop.
7. Before I made the version here, I removed the kernel sources and the devx sfs's, and then "File -> Export Appliance."


